Saturday, March 30, 2013

Paska Bread

...or as my phone will autocorrect to "Plasma Bread"

Paska bread is a Slovak Easter tradition.  This recipe started as my Great Aunt's, and has been handed down.  With no further ado, I pass this Easter tradition along to you!

Ingredients:

    ¾ cup milk
    2 TBS butter

    1 package (2 ¼ tsp) yeast
    2 TBS warm water

    1 egg + 1 egg white, beaten

    3+ cups flour
    ½ TBS salt
    ¼ cup sugar
    ½ cup raisins

    1 egg yolk, beaten with a small amount of water


Heat milk and butter together until butter is melted.  Allow to cool.
Combine yeast with warm water and set aside to rise.


In mixing bowl, combine 2 cups flour, salt and sugar.


Use dough hook and stir together slowly adding milk mixture.


Add eggs, then yeast.  


Gradually add remaining flour as needed until the dough is elastic, but not too wet.  Add raisins. 


Knead dough by hand until smooth.


Place dough in a greased bowl covered loosely with plastic wrap to rise in a warm place* until doubled in size (approx. 2 hours).

Depending on your living situation you may need to leave notes laying around...I didn't trust my hubby not to try and heat up pizza.


Punch dough down and let rise again, (approx. 1 hour).  Punch down again and place on parchment lined cookie sheet.  Shape into a round loaf and let rise for 30-45 min.


Using a sharp knife gently cut a cross in the top of the loaf (go deeper than you think you should).  Brush the top with egg yolk/water mixture.


Bake at 350º for 20-30 min until lightly golden brown and sounds hollow when tapped on the bottom.  Cool, slice, serve.


*If your stove is electric you can place the bowl inside the oven with a lit votive candle set off to the side to produce a warm environment.  


This bread is good the day you make it...but I like it even better the next day, toasted with a little bit of butter.


From my family to yours, Happy Easter!

Friday, March 29, 2013

When the going gets tough...

...the tough get cooking!

Ok fine, so that's not how the cliché goes, but it's the truth.  And after a particularly stressful week I give unto you Easter Treats!

Up first, cherry cordial truffles.


Step 1: Melt your chocolate in a double boiler

Step 2: Start the center fondant that will enrobe the cherries (1 cup sugar, 1 1/4 TBS light corn syrup, 3/8 cup water; bring to a gentle boil until it hits 240º)

Step 3: Create your truffle shells - fill your molds completely with chocolate, gently tap them to remove the air bubbles, invert and allow the excess chocolate to drain, chill

Step 4: Aerate your fondant - if you have ever worked with pulled sugar before the concept is similar, use a dough or bench scraper to fold air into the sticky gooey mass until it has become opaque in color

Step 5: Give your arm a break and admire your perfectly aerated fondant mass

Step 6: Heat up your fondant using a double boiler until it is semi-liquidy (too far and you will end up with a solid blob).

Step 7: TOP SECRET!!! Ok fine, so I just forgot to keep taking pictures.  At this point enrobe your cherries in the fondant, let them cool slightly, put them inside your chocolate shells, seal the shells up, chill, de-mold, and let cure for 48 hours.


Fillings are entirely up to you - these represent some of the perennial favorites.  Salted caramel, cherry cordial, and peanut butter.

Up next: Paska bread and a bunny cake 


Thursday, March 7, 2013

Presenting Pristinely Perched Piggies

What's better than a navy of nursing duckies?  Why a plethora of piggies, of course!

And with that, I give you marzipan pigs atop a caramel apple cupcake:


For this you will need a blob of pink and a small blip of white marzipan

Form the body by rolling an oval shape, then add the snout with a flattened oval indented with a toothpick

Add feet

And a curly tail

Followed by your hat (optional) and ears (less optional)

Eyes and a red cross complete the ensemble

Plethora of Piggies!

Pristinely Perched...

And what is best thing of all about these pigs, you may ask? They're Kosher!

Monday, February 18, 2013

Orange you glad you're reading this post?

A perpetual childhood favorite, candied orange peels bring back fond memories of high tea at the Manor House with my mom.


Step 1: Make your 4 oranges naked! Be careful not to mutilate the peels - I like to use my "pink peeler" (named for the color, not the function). 
The remaining fruit can go into a zip-top bag in the fridge for a few days.


Step 2: Gently boil the rinds for 5ish minutes until the pith is soft and vaguely yellow in color.

Step 3: Carefully remove the pith using the side of a spoon - the goal is to remove all of the bitter white stuff without ripping the peel (easier said than done).

Behold! Pith-free orange peels!

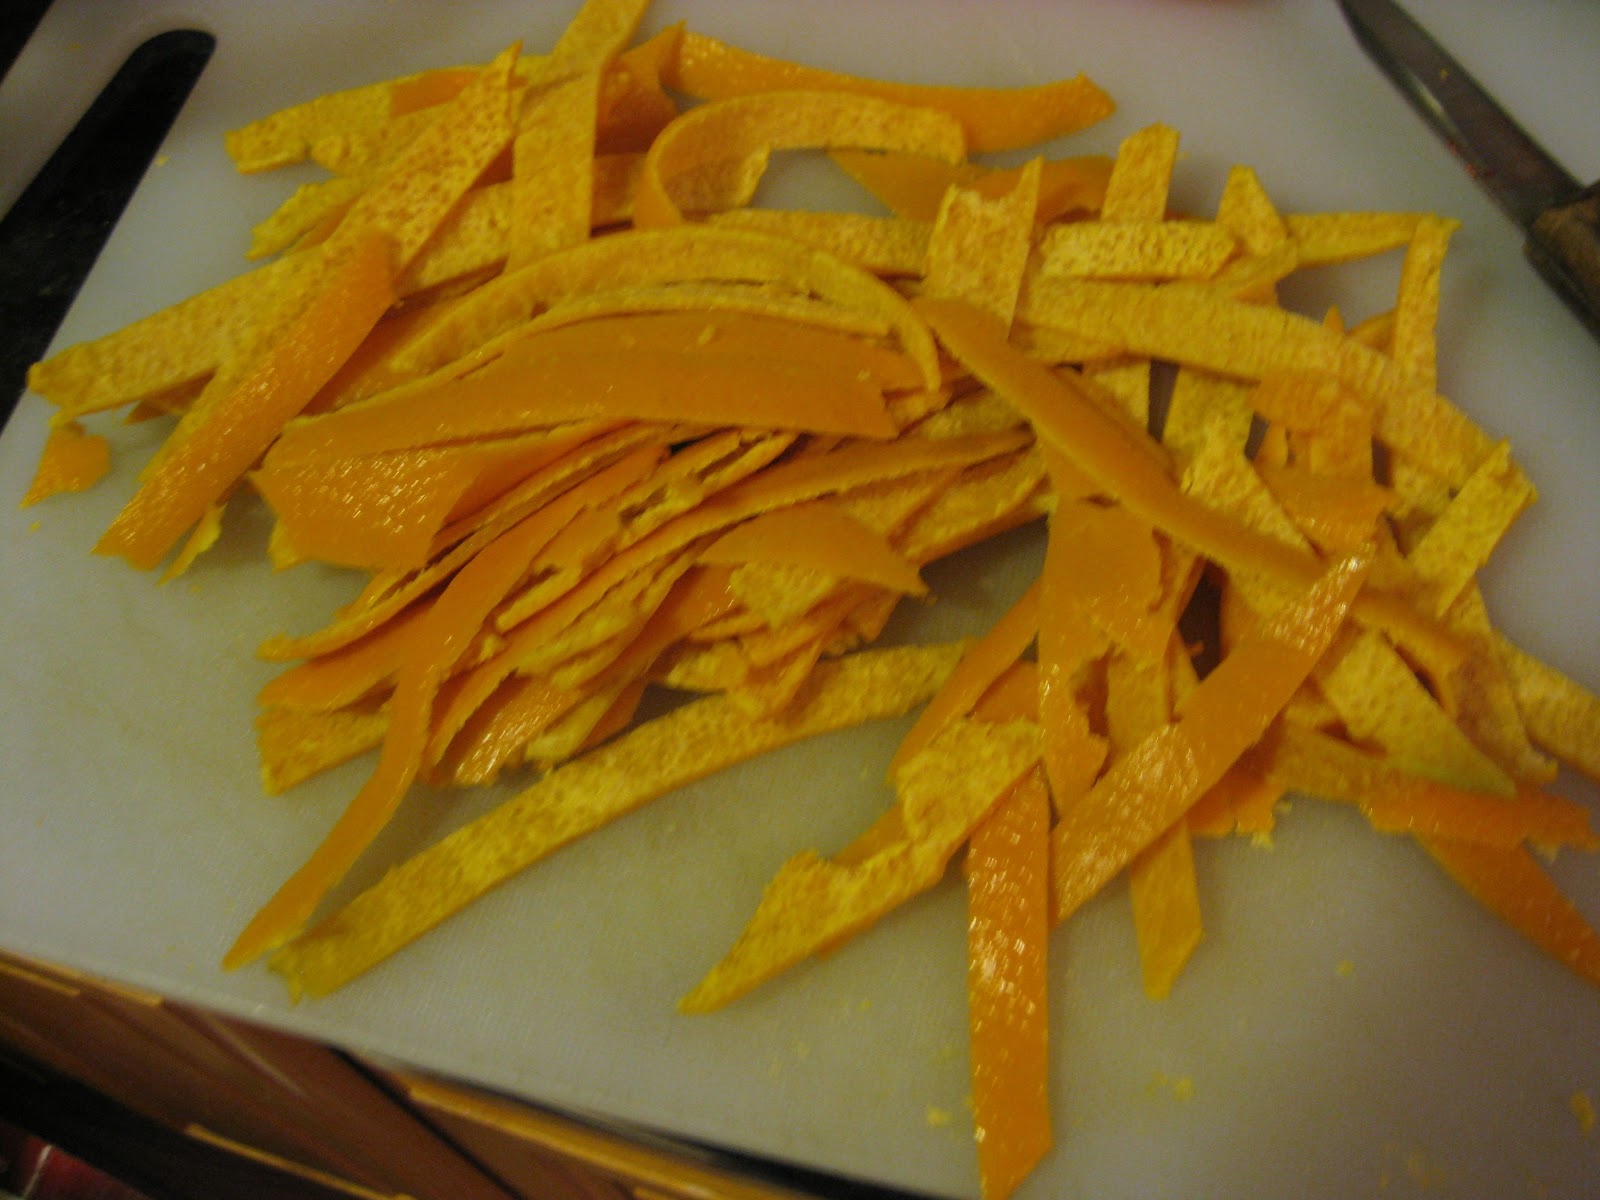
Step 4: Slice your orange peels into thin strips.

Step 5: Gently boil your orange peel for 5 minutes in a solution of 1 cup sugar dissolved in 1/2 cup water.  Turn the heat off, cover, and allow this to sit for 24 hours.  At this point remove the lid, and return to a gentle boil until the liquid is at the thread stage (take your spoon and when the liquid dripping off leaves a thread trailing behind you are good to go).  Strain in a sieve.

Step 6: When the peels are cool enough to handle (please be careful - sugar burns are very painful) place in a container with sugar and toss to coat.

Step 7: Lay your sugar-coated candied orange peels on a flat surface.

Step 8: Is totally optional, but adds a nice flavor.  Take some of your candied orange peels and dip the end in dark chocolate.  Lay on a non-stick surface to cool - I prefer to use the silpat.

Step 9: Bag & Tag for distribution (or store in an airtight container for about a week).


Ready....Set....COOK!

Thursday, February 14, 2013

Happy Valentine's Day!

In honor of this Hallmark holiday, I give unto you, cake pops!  Vanilla cake coated in a robe of raspberry dark chocolate, and of course sprinkles :)

Happy Valentine's Day!