Sunday, June 22, 2014

Butternut Squash Risotto

I come from a family of food lovers, so when we have family get-togethers the results are sure to be interesting.  With that, butternut squash risotto was made.

Step 1: Peel and gut your squash.  Now would also be a good time to cube it into 1/4" pieces

Step 2: Toss the raw squash with a little olive oil and salt and roast at 375º for 30 minutes, or until the squash is tender

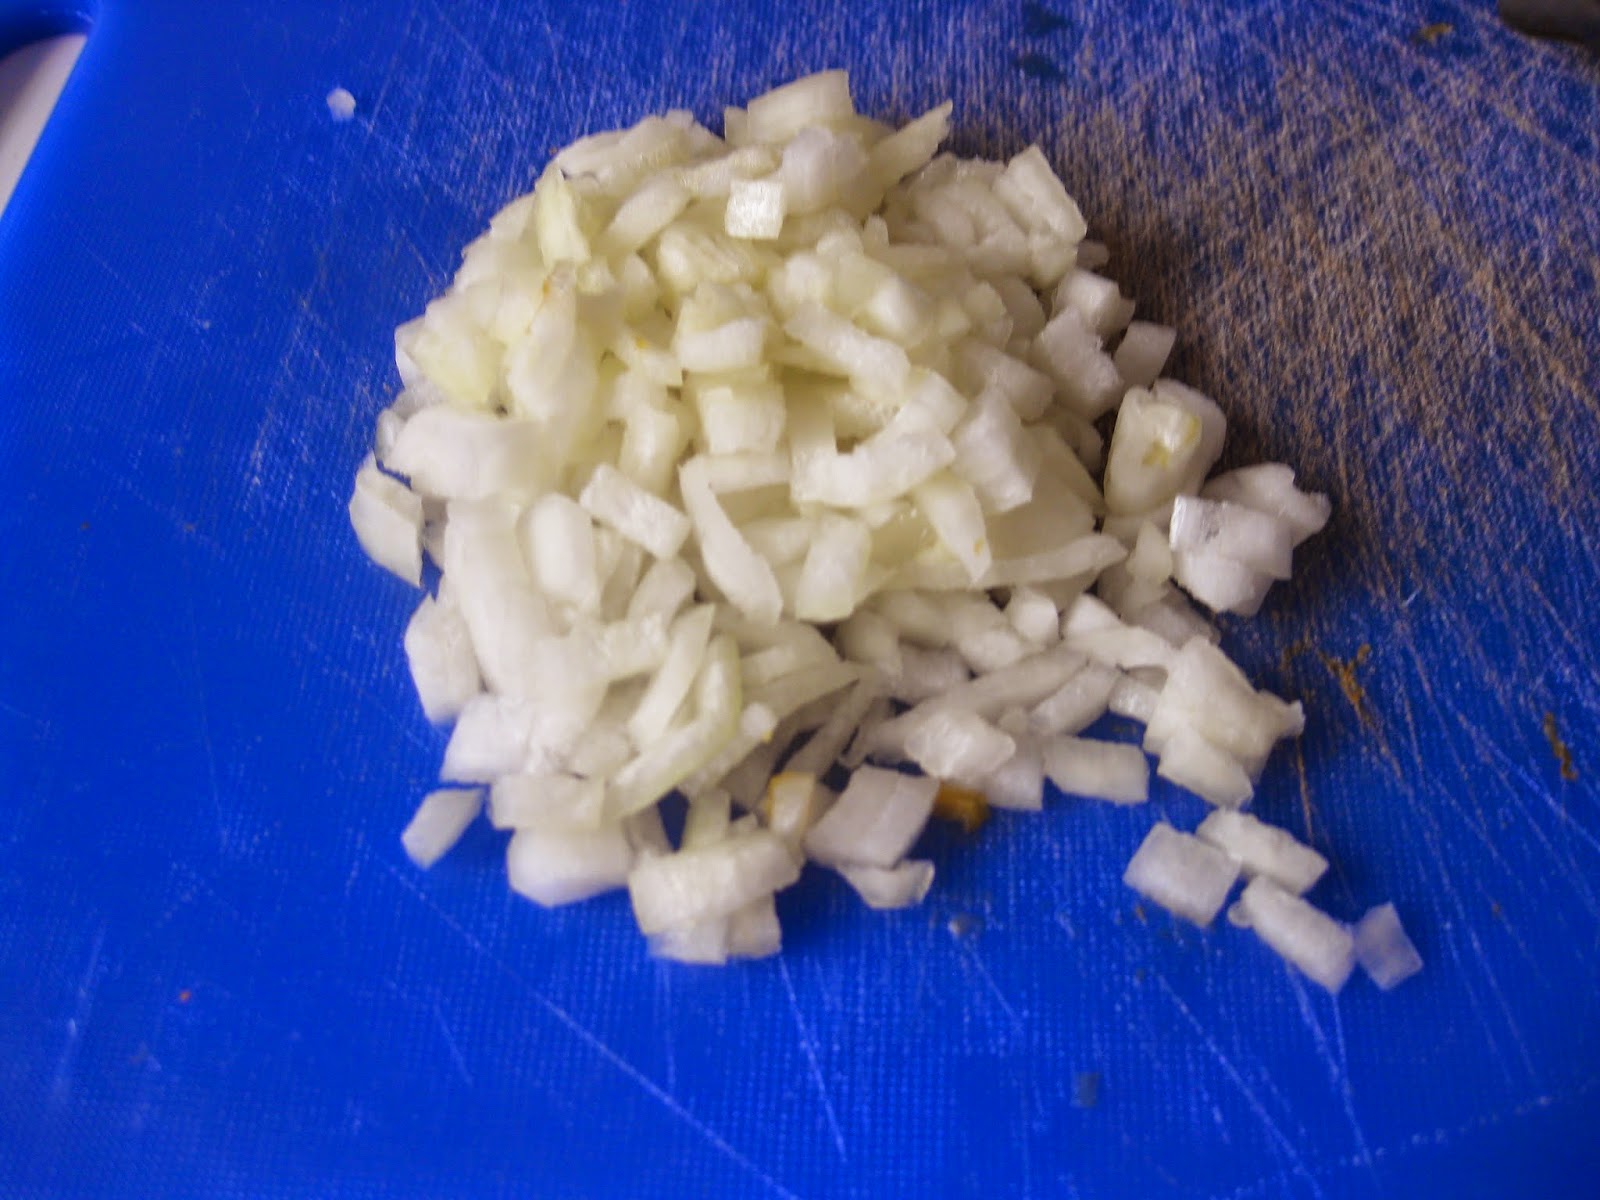
Step 3: Dice up some onion and sauté until translucent (clearish)

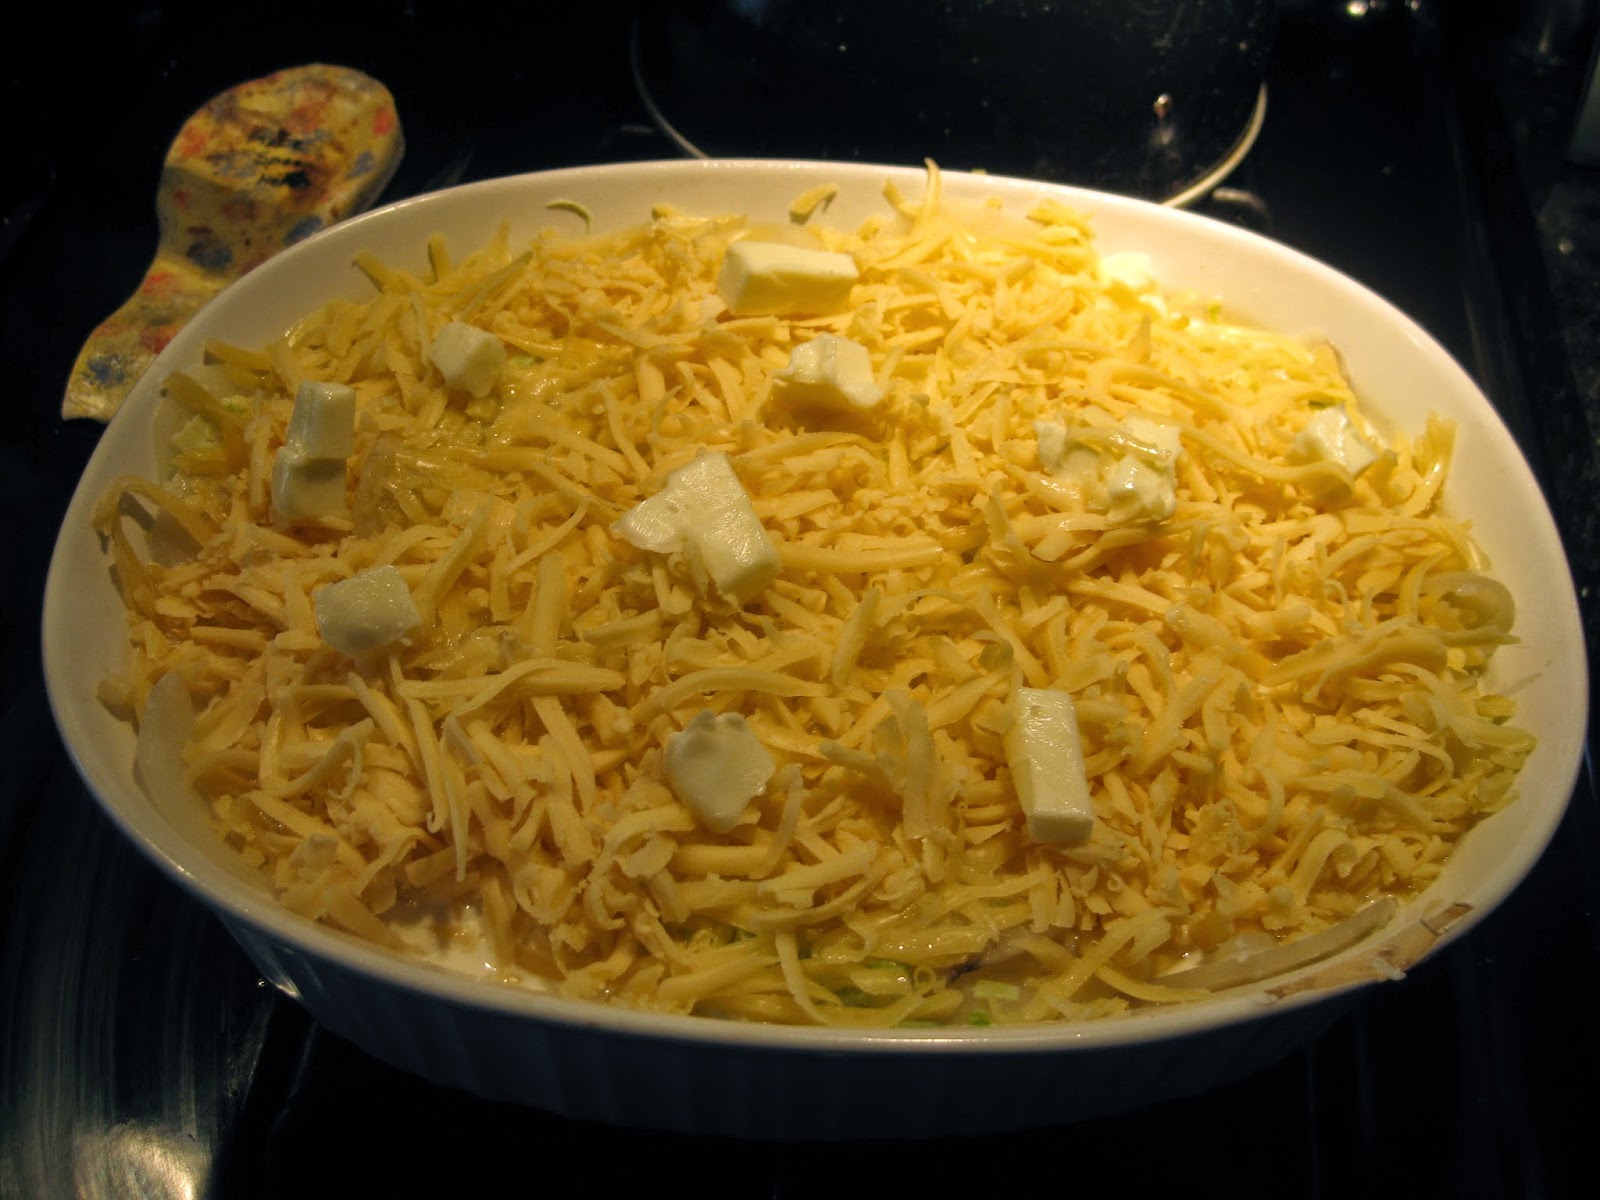
Step 4: Add your arborio rice (also labeled risotto rice), and add chicken stock (or any other stock you want - you can use water but it doesn't add much flavor).  Cook, stirring occasionally until the liquid is absorbed, adding more as necessary to achieve a soft and creamy texture.  At the end toss in some parmesan cheese to taste.


Step 5: Plate and serve!


Moose Note:
Risotto is a VERY filling dish so even though you may think a serving size looks small you will be surprised at just how full you will be.

Potato Gratin

Inspired from a date night cooking class with my husband, I give you potato gratin!

You will need:
2TBS butter
1 leek
1/2 cup heavy cream
1/2 cup milk
1/2 TBS salt
1 1/2 LB yukon gold potatoes
1/4 cup grated Gruyere cheese
2 TBS grated Parmesan cheese

Step 1: Wash and peel your potatoes

Step 2: Slice your potatoes very thinly.  You can do this with a knife but a mandolin makes quick work of the process (Always use the hand guard!  No trips to the ER for finger re-attachment please!)

When you are done slicing put your potatoes in a bowl with cold water to help them from oxidizing (aka turing that rust brown color)

Step 3: Prep your leek

Trim off the woody leaves

Cut down the middle and wash thoroughly - dirt likes to hide in there

Step 4: Slice the leeks thinly and sauté with 1 TBS butter over medium heat until soft

Step 5: Add the cream, milk, salt, and potatoes and cook at a simmer until the sauce starts to thicken slightly - your potatoes will only be partly cooked by this point

Step 6: Transfer the potatoes to a lightly greased oven-safe dish - be sure to pour all that wonderful cream mixture over top after the potatoes are layered in.

Step 7: Top with the remaining butter (you did cut it into small cubes, right?), and cheese.  Bake at 375º for 1 hour (if the color gets too dark before the time is up just toss a piece of foil over top)

Step 8: Remove your luscious dish of potatoey goodness and allow it to rest for 20 minutes

Step 9: Stand back while the hungry masses devour this tasty dish


This is certainly more intensive of a project than just opening a box of "Au gratin potatoes" but the results are worth every minute of your time.

Hard Boiled Eggs

Back to Basics:

Ever wonder how to make the perfect hard boiled eggs?  Well, wonder no more!

Step 1: Put your eggs in a pot and cover with cold water.  Bring to a boil.

Step 2: Turn off the heat, cover, and let sit for 18 minutes

Step 3: Rinse under cold water

Rutga (Easter Cheese)

Part of my family's Easter tradition is Rutga aka Citek aka Easter Cheese aka Rubber Cheese.  While this is not cheese at all, but rather a combination of milk and eggs, it is my favorite part of the meal.


Step 1: Beat 6 eggs with 2 cups of milk and salt to taste.  
Put in a pot over medium heat and start stirring.  
Do not leave this mixture unattended as it will burn when you least expect

 
Step 2: Continue stirring.  You will start to get some lumpy looking "curds"which means you are going in the right direction.

Step 3: Keep stirring.  Your mixture will get thicker and lumpier.

Step 4: You guessed it, stir some more!  You mixture should look something like this at which point turn off the heat.

Step 5: Place cheesecloth (I like to use 2 layers thick), in a mesh strainer

Step 6: Pour your lumpy eggy mixture into the strainer and let the moisture drain out.

Step 7: Tie up your cheesecloth and suspend it into a container.  This will help catch any additional moisture that drains out.  Place this in your refrigerator overnight.

Step 8: Remove the cheesecloth, cut into cubes, and serve!


If you want to add an extra little kick take some whole red beets and grate them, add horseradish to taste and serve along with the Rutga.

Wednesday, March 19, 2014

Filled Cupcakes

Today's Lesson: How to fill cupcakes with a creamy center

Step 1: Make your filling
6 TBS butter, at room temp.
3/4 cup marshmallow fluff
1.5 cups powdered sugar
2 TBS milk

Step 2: Fill your pastry bag, outfitted with a star tip, as if this was frosting.  Be aware you will likely have some oozing as this filling is runnier than traditional frosting.

Step 3: Push the tip into the center of your cupcakes and add filling until you just start to feel the cupcake bulge out

You may have some seepage out of the hole, but that is ok. 
Remember, this is going to be covered with frosting yet

When cut in half you can see how full of yummy creamy goodness these cupcakes really are.

Happy St. Patrick's Day!


Pi Day

Happy Pi Day!!!

March 14 (3.14159...)

In honor of this day of geekdom I present to you an apple cherry pie.

Step 1: Mix your apples and cherries with some sugar, cinnamon, and flour

Step 2: Roll out your favorite pie crust to fit your dish.  
In honor of the math I used a square baking dish, after all πr2
Only problem I found is how difficult it is to roll out dough in a square shape...I dare say it would have been easier to nail Jello to the wall.

Step 3: Fill your shell with your fruit mixture

Step 4: Add your top crust, any decorations you may want, and brush with either milk or an egg wash

Step 5: Bake at 325º for 1 hour 15 min


Conversation Heart Cheesecakes

Sadly my hubby dislikes cake, so this year for Valentines Day I made one of his favorite desserts, cheesecake.  But how could I let this go without a twist?  With that, I give you individual size conversation heart cheesecakes!  

Step 1: Make your crust

Step 2: Equally distribute your crust into your silicone mold.  It will look like coarse sand before it is packed down.

Step 3: While your crust pre-bakes combine your sugar and cream cheese in a food processor.

Step 4: Process until smooth, add your remaining ingredients
(hey, I can't give all my secrets away)

Step 5: When your batter is done it should look something like this

Step 6: Color your batter to match the wonderful colors of the conversation heart candy

Step 7: Bake in a water bath for 20-30 minutes.  Your cheesecake will still be jiggly when you pull it out.  This is good!  You will have to let them cool to room temperature and then move them to the fridge overnight.  If you drop the temp too fast you will be more likely to develop cracks.

Step 8: Decorate using food coloring and a small paintbrush.


The original conversation heart cheesecake idea came from: Hungry Happenings


Swirled Icing

When you go to a bakery and you see those pretty multi-swirled cupcakes sitting so perfectly in the case, have you ever wondered how they do that?  Well, wonder no more!  I give you the secret to multi-color swirled frosting, Superbowl style (yes, I'm slow on the posting, sorry).  

You did remember to make mini-cupcakes right?  These were corona cupcakes with a lime buttercream frosting.


Step 1: Prepare your bag like you usually would for icing.  Mix your gels to get the desired color for your swirls (in this case it was a navy blue and orange).

Step 2: Take a toothpick and make lines up the inside of your pastry bag.  For this I did 2 lines of each color on opposite sides of the bag, but you can do just about any number of lines and colors as you want.

Step 3: Pipe your frosting onto the cupcakes as you normally would.

TaDa!

Go Seahawks!  Go Broncos!
(what can I say, the Jets weren't playing)


Moose Tip:
When baking cupcakes if you do not have enough to fill every spot in the tray fill the empty chambers with water, this will keep your tin from scorching in the oven.