Wednesday, March 19, 2014

Filled Cupcakes

Today's Lesson: How to fill cupcakes with a creamy center

Step 1: Make your filling
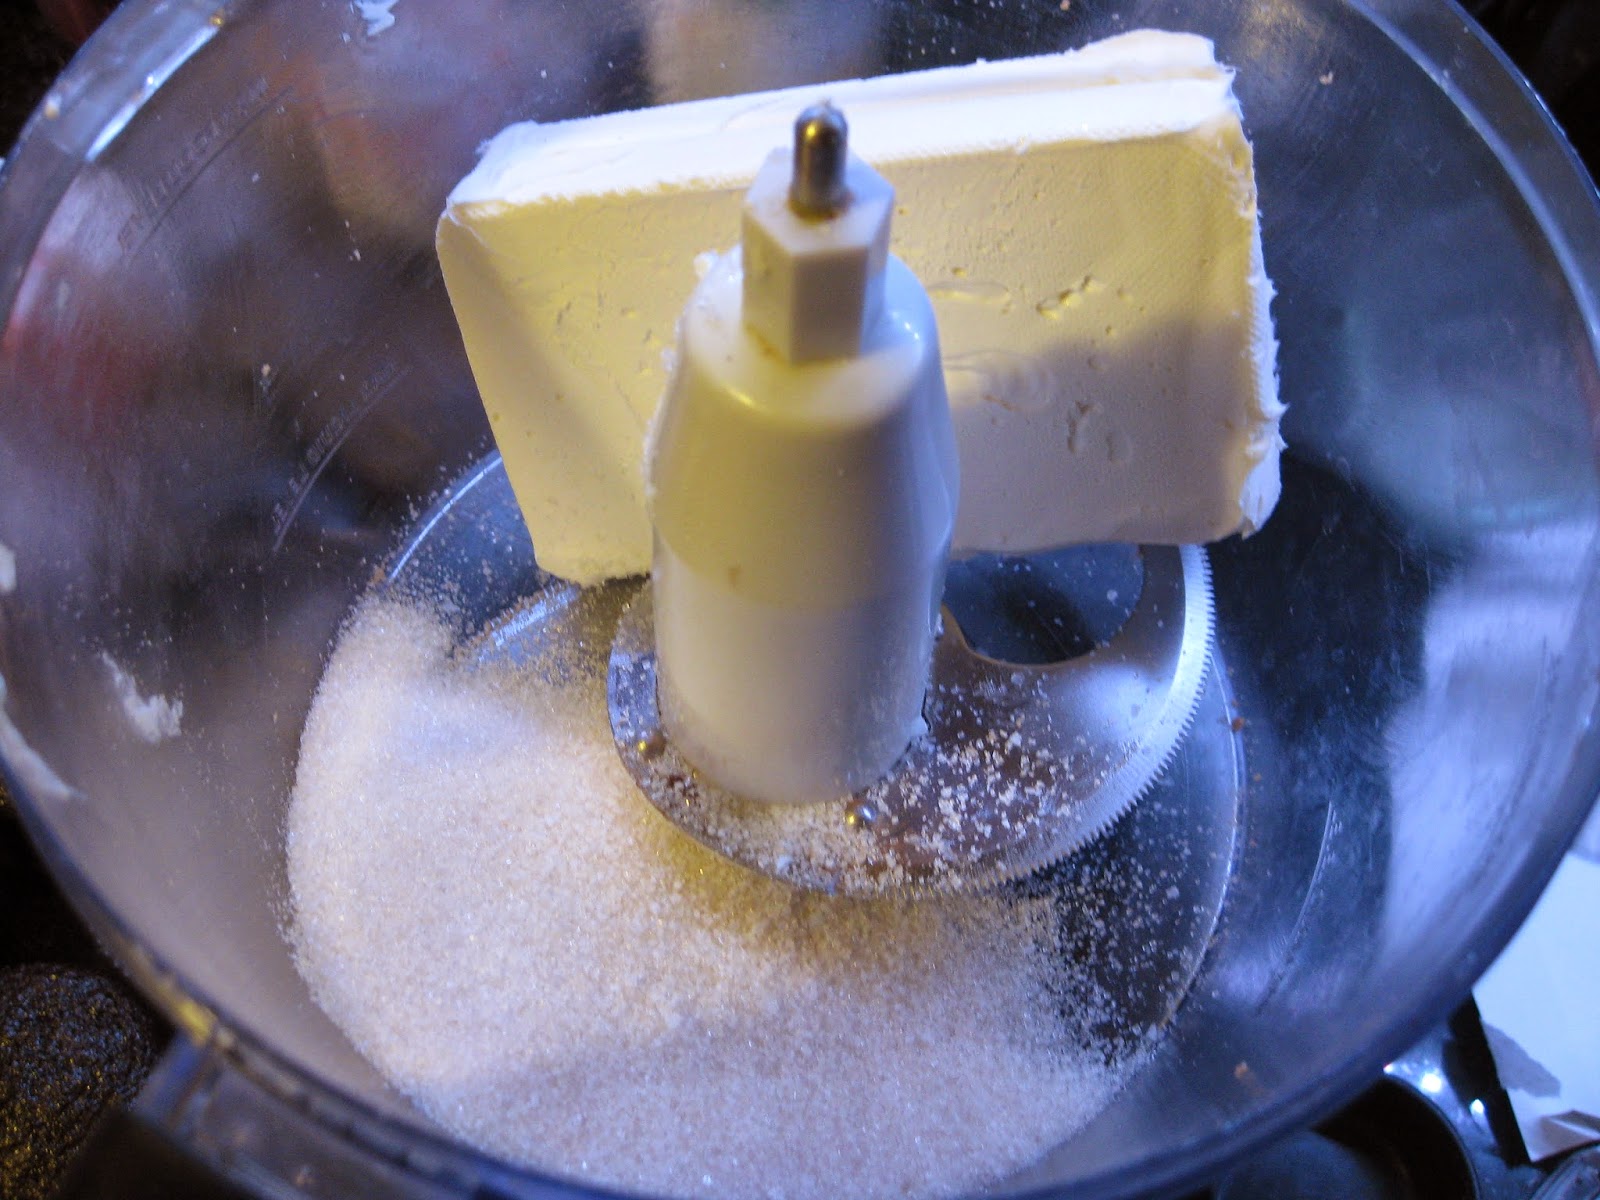
6 TBS butter, at room temp.
3/4 cup marshmallow fluff
1.5 cups powdered sugar
2 TBS milk

Step 2: Fill your pastry bag, outfitted with a star tip, as if this was frosting.  Be aware you will likely have some oozing as this filling is runnier than traditional frosting.

Step 3: Push the tip into the center of your cupcakes and add filling until you just start to feel the cupcake bulge out

You may have some seepage out of the hole, but that is ok. 
Remember, this is going to be covered with frosting yet

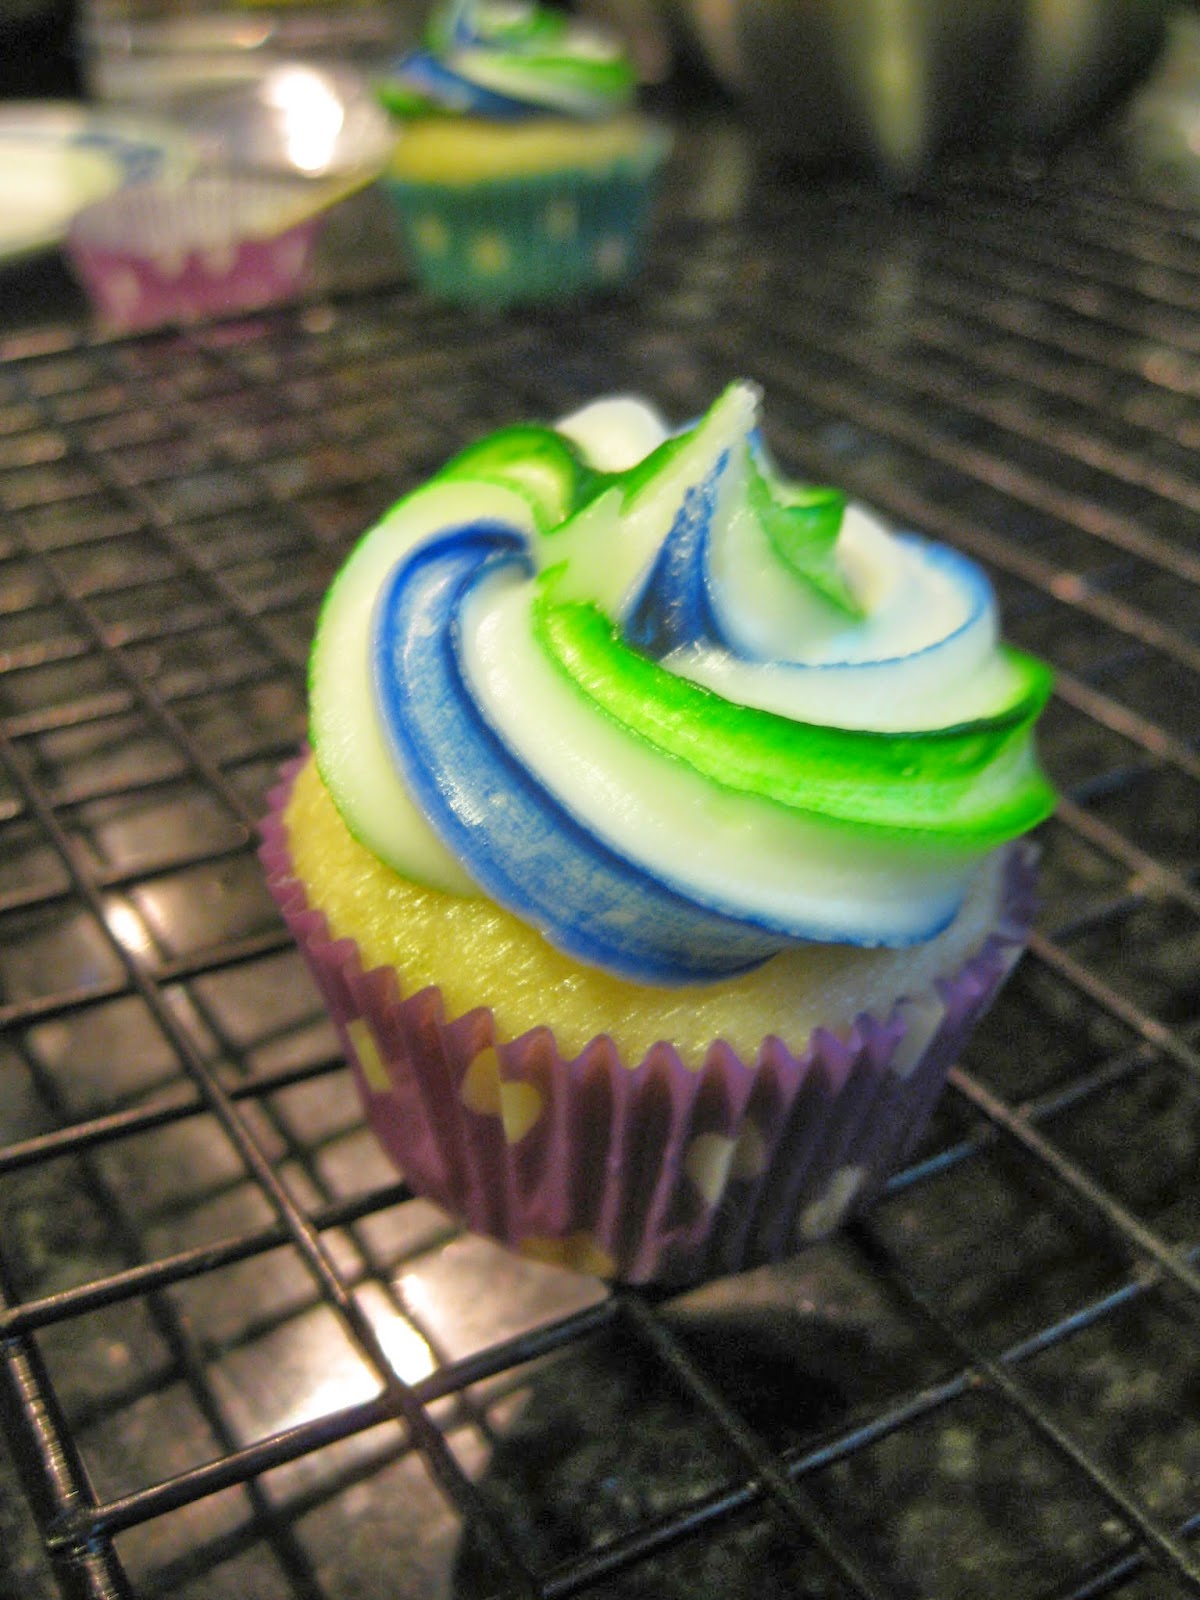
When cut in half you can see how full of yummy creamy goodness these cupcakes really are.

Happy St. Patrick's Day!


Pi Day

Happy Pi Day!!!

March 14 (3.14159...)

In honor of this day of geekdom I present to you an apple cherry pie.

Step 1: Mix your apples and cherries with some sugar, cinnamon, and flour

Step 2: Roll out your favorite pie crust to fit your dish.  
In honor of the math I used a square baking dish, after all πr2
Only problem I found is how difficult it is to roll out dough in a square shape...I dare say it would have been easier to nail Jello to the wall.

Step 3: Fill your shell with your fruit mixture

Step 4: Add your top crust, any decorations you may want, and brush with either milk or an egg wash

Step 5: Bake at 325º for 1 hour 15 min


Conversation Heart Cheesecakes

Sadly my hubby dislikes cake, so this year for Valentines Day I made one of his favorite desserts, cheesecake.  But how could I let this go without a twist?  With that, I give you individual size conversation heart cheesecakes!  

Step 1: Make your crust

Step 2: Equally distribute your crust into your silicone mold.  It will look like coarse sand before it is packed down.

Step 3: While your crust pre-bakes combine your sugar and cream cheese in a food processor.

Step 4: Process until smooth, add your remaining ingredients
(hey, I can't give all my secrets away)

Step 5: When your batter is done it should look something like this

Step 6: Color your batter to match the wonderful colors of the conversation heart candy

Step 7: Bake in a water bath for 20-30 minutes.  Your cheesecake will still be jiggly when you pull it out.  This is good!  You will have to let them cool to room temperature and then move them to the fridge overnight.  If you drop the temp too fast you will be more likely to develop cracks.

Step 8: Decorate using food coloring and a small paintbrush.


The original conversation heart cheesecake idea came from: Hungry Happenings


Swirled Icing

When you go to a bakery and you see those pretty multi-swirled cupcakes sitting so perfectly in the case, have you ever wondered how they do that?  Well, wonder no more!  I give you the secret to multi-color swirled frosting, Superbowl style (yes, I'm slow on the posting, sorry).  

You did remember to make mini-cupcakes right?  These were corona cupcakes with a lime buttercream frosting.


Step 1: Prepare your bag like you usually would for icing.  Mix your gels to get the desired color for your swirls (in this case it was a navy blue and orange).

Step 2: Take a toothpick and make lines up the inside of your pastry bag.  For this I did 2 lines of each color on opposite sides of the bag, but you can do just about any number of lines and colors as you want.

Step 3: Pipe your frosting onto the cupcakes as you normally would.

TaDa!

Go Seahawks!  Go Broncos!
(what can I say, the Jets weren't playing)


Moose Tip:
When baking cupcakes if you do not have enough to fill every spot in the tray fill the empty chambers with water, this will keep your tin from scorching in the oven.