Wednesday, March 19, 2014

Filled Cupcakes

Today's Lesson: How to fill cupcakes with a creamy center

Step 1: Make your filling
6 TBS butter, at room temp.
3/4 cup marshmallow fluff
1.5 cups powdered sugar
2 TBS milk

Step 2: Fill your pastry bag, outfitted with a star tip, as if this was frosting.  Be aware you will likely have some oozing as this filling is runnier than traditional frosting.

Step 3: Push the tip into the center of your cupcakes and add filling until you just start to feel the cupcake bulge out

You may have some seepage out of the hole, but that is ok. 
Remember, this is going to be covered with frosting yet

When cut in half you can see how full of yummy creamy goodness these cupcakes really are.

Happy St. Patrick's Day!


Pi Day

Happy Pi Day!!!

March 14 (3.14159...)

In honor of this day of geekdom I present to you an apple cherry pie.

Step 1: Mix your apples and cherries with some sugar, cinnamon, and flour

Step 2: Roll out your favorite pie crust to fit your dish.  
In honor of the math I used a square baking dish, after all πr2
Only problem I found is how difficult it is to roll out dough in a square shape...I dare say it would have been easier to nail Jello to the wall.

Step 3: Fill your shell with your fruit mixture

Step 4: Add your top crust, any decorations you may want, and brush with either milk or an egg wash

Step 5: Bake at 325º for 1 hour 15 min


Conversation Heart Cheesecakes

Sadly my hubby dislikes cake, so this year for Valentines Day I made one of his favorite desserts, cheesecake.  But how could I let this go without a twist?  With that, I give you individual size conversation heart cheesecakes!  

Step 1: Make your crust

Step 2: Equally distribute your crust into your silicone mold.  It will look like coarse sand before it is packed down.

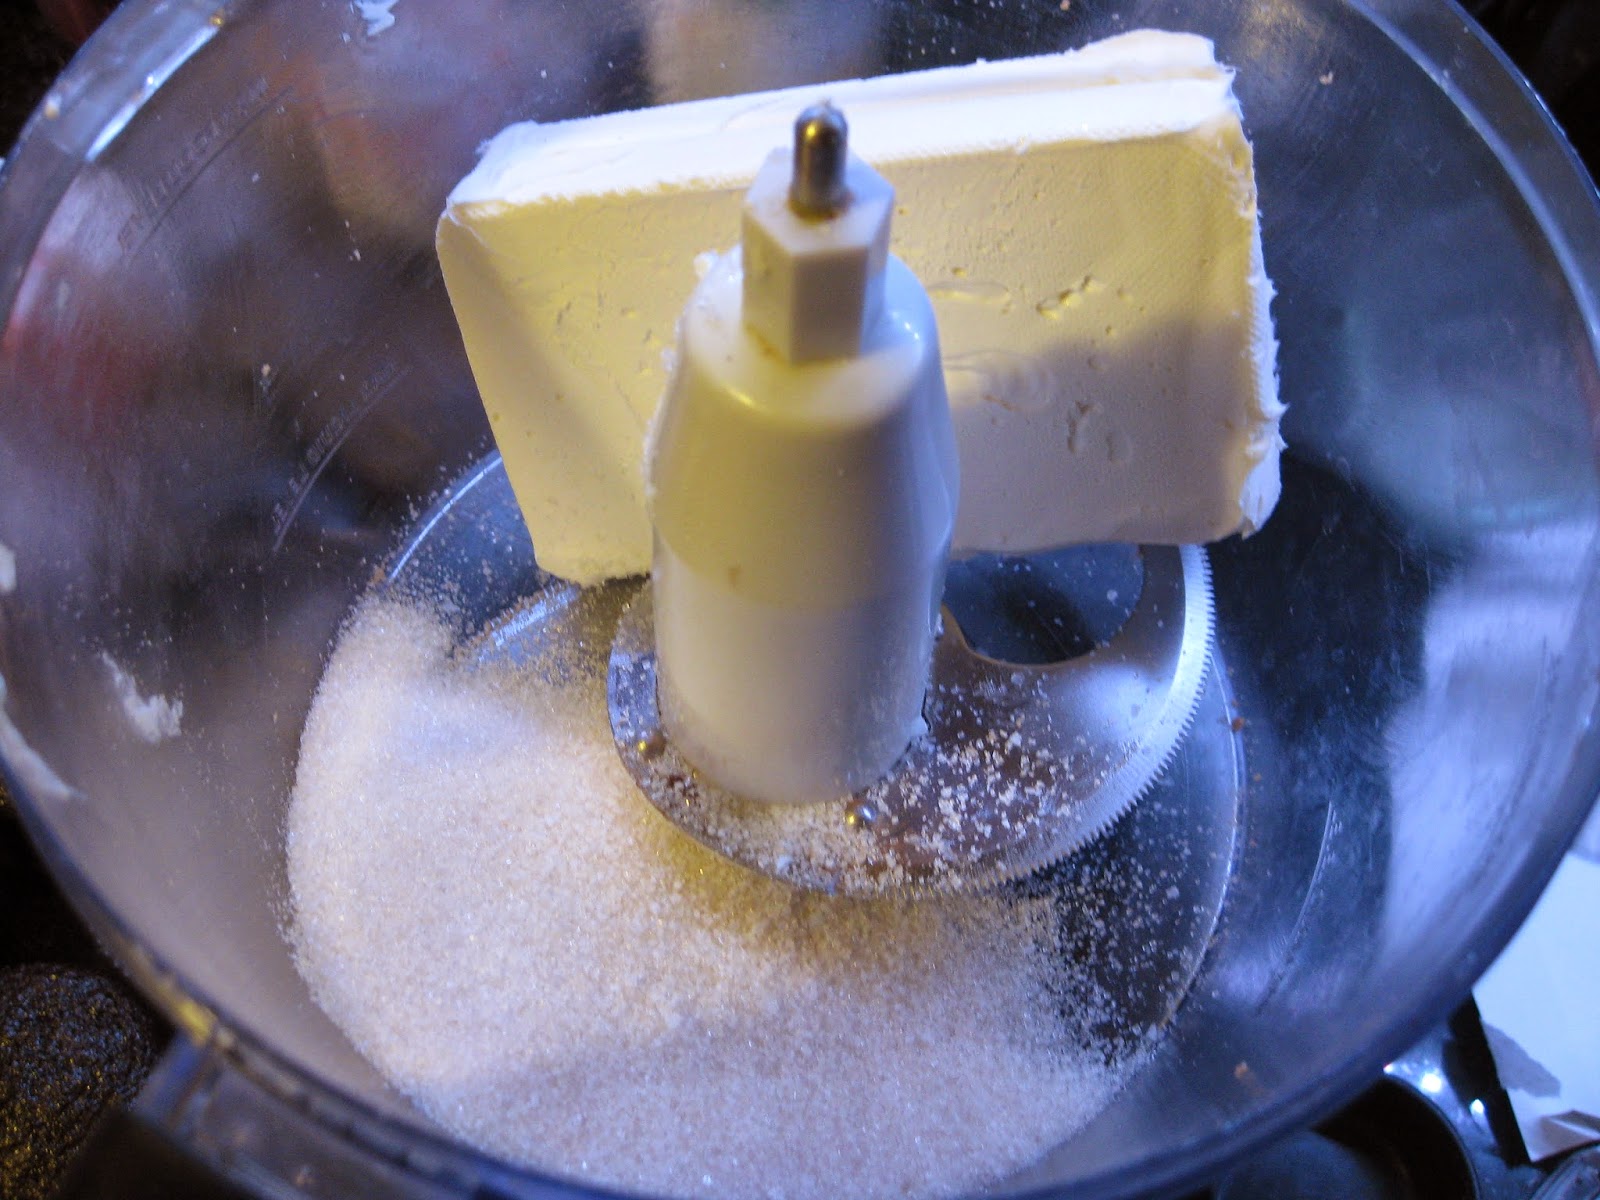
Step 3: While your crust pre-bakes combine your sugar and cream cheese in a food processor.

Step 4: Process until smooth, add your remaining ingredients
(hey, I can't give all my secrets away)

Step 5: When your batter is done it should look something like this

Step 6: Color your batter to match the wonderful colors of the conversation heart candy

Step 7: Bake in a water bath for 20-30 minutes.  Your cheesecake will still be jiggly when you pull it out.  This is good!  You will have to let them cool to room temperature and then move them to the fridge overnight.  If you drop the temp too fast you will be more likely to develop cracks.

Step 8: Decorate using food coloring and a small paintbrush.


The original conversation heart cheesecake idea came from: Hungry Happenings


Swirled Icing

When you go to a bakery and you see those pretty multi-swirled cupcakes sitting so perfectly in the case, have you ever wondered how they do that?  Well, wonder no more!  I give you the secret to multi-color swirled frosting, Superbowl style (yes, I'm slow on the posting, sorry).  

You did remember to make mini-cupcakes right?  These were corona cupcakes with a lime buttercream frosting.


Step 1: Prepare your bag like you usually would for icing.  Mix your gels to get the desired color for your swirls (in this case it was a navy blue and orange).

Step 2: Take a toothpick and make lines up the inside of your pastry bag.  For this I did 2 lines of each color on opposite sides of the bag, but you can do just about any number of lines and colors as you want.

Step 3: Pipe your frosting onto the cupcakes as you normally would.

TaDa!

Go Seahawks!  Go Broncos!
(what can I say, the Jets weren't playing)


Moose Tip:
When baking cupcakes if you do not have enough to fill every spot in the tray fill the empty chambers with water, this will keep your tin from scorching in the oven.

Sunday, January 19, 2014

Pear-Applesauce

Here I find myself again on a Sunday afternoon with some fruit that has hit the "use it or lose it" stage of life.  A bit beyond the prime eating stage but not yet a fruit fly breeding ground, I had some apples and pears laying about that needed to be converted to something tasty.

You can do this recipe with only apples, but hey use what you have around!

Step 1: Gather your fruit - this was about 2lbs

Step 2: Beware of little helpers
(our newest addition, Abby, and the usual suspects Milo & Sissy)


Step 3: Peel, core, and cut your fruit into large chunks and add 1/3cup apple cider (or juice or water) and 1 1/2 TBS brown sugar

Step 4: Cook down over low heat for 30min.

Step 5: Buzz your cooked fruit to create a smoother texture
You can opt to use a potato masher for a chunkier texture, but we prefer less chunky around here.

Step 6: Top with a touch of cinnamon and serve!

Friday, January 3, 2014

Perogie

Christmas Eve in my house brings a meal that is affectionately referred to as the "beige meal."  Meaning everything is approximately the same color, unless I decide to get creative and add fabulously colored veggies.  

The traditional Slovak Christmas Eve meal is what we consume; the recipes are never written down, just passed down from generation to generation.  My Grandma Rose taught my Mom, who in turn taught me.  So with that I wanted to share my favorite part of the meal with you, Perogie!


Step 1: Create and roll out your dough
2 cups flour
2 eggs
1TBS olive oil
Sour cream, as needed to form a smooth dough

Step 2: Make and cool a batch of mashed potatoes, don't forget to add some shredded cheddar cheese to the mix

Step 3: After the dough is rolled out and cut into squares, fill with a small amount of potatoes, dab water on 2 sides, and fold over to form a triangle.  Make sure to work as much air out as possible and seal the edges completely to avoid any "blow-outs"

Step 4: Place in a single layer on floured parchment paper

Step 5: Boil until the pasta dough is tender (they will start to float a little before they are done)

Step 6: Drain and serve

My family eats them boiled and topped with onion butter.  My husband's family adheres to the Polish tradition and prefers them fried up and served with sour cream - so I will take some of perogie, cool them down, and toss them in a non-stick pan with some butter to get them a little crispy.


From the Moose Treats family to yours, Merry Christmas and best wishes for a wonderful, happy, and healthy holiday season and New Year!

Stuffing - and a treat

So this post is LONG overdue, better late than never though.  A Thanksgiving tradition in my house is my dad's homemade stuffing, so he joined us for some guest cooking in the Moose Treats kitchen!


Step 1: Dice up - 
3 stalks of celery
1/2 bell pepper (any color is fine)
1/2 medium onion 

Step 2: Cube a 1lb loaf of white bread into 1" chunks
(homemade is always best, but store-bought is fine)

Step 3: Sauté the vegetables until softened, season with salt, pepper and parsley


Step 4: Add 2 cups of vegetable or chicken stock and bring to a boil.  
Reduce heat and simmer for a few minutes.

Step 5: Add the vegetable mixture to the bread and stir to combine

Step 6: Put in a lightly greased oven-safe dish, cover and bake at 350ºF for 30 minutes.  Uncover and bake for an additional 30 minutes.

Step 7: Grab yourself a serving before it disappears!


And as promised, a treat!

Brining the turkey (adapted from Alton Brown):
6lb bone-in turkey breast
1/2 cup kosher salt
1/4 cup brown sugar
1/2 gallon chicken stock
peppercorns
bay leaf
ground ginger
cumin
1/2 gallon cold water

Bring everything except the water to a boil and dissolve the salt & sugar.  Cool, add the water, and stash in the refrigerator until cold.  Add the turkey and refrigerate for at least 8 hours - I do mine for 24 hours, and if the bird is still partly frozen that's just fine, throw it in anyway, but please make sure you have removed any giblets or wayward gravy concentrate packets (yes, found one of those this year)


Roast at 450ºF for 30 minutes, tent and continue roasting at 325ºF until the internal temperature reaches 160ºF.  Rest for 30 minutes before carving.  And you did remember to save any drippings to put in the gravy, right?


Happy (belated) Thanksgiving!!!