Wednesday, November 13, 2013

Matzo Ball Soup

From the recipe archives of a good friend's grandmother, I share with you matzo ball soup (with a Moose Treats twist, as always).  This may not have been a staple in my house growing up, but it certainly is now.


Step 1: Mix together - 
1/2 cup matzo meal
1/4 tsp salt
2 eggs
2 TBS oil


Step 2: Refrigerate the mixture for 15 minutes

Step 3: Bring a pot of your favorite chicken stock/broth to a simmer on the stove.  The diced carrots and celery are optional, but I like the crunch (now would be a good time to throw vegetation in)

Step 4: Put small spoonfuls of the sticky matzo meal mix into the pot

Step 5: Simmer the soup for 20 minutes, your matzo balls will swell in the liquid

Step 6: Serve and devour

Thursday, November 7, 2013

Caramel Apple Cake

Bobbing for apples is a staple for October, so what better way to honor that tradition that with a caramel apple cake that looks like an apple bobbing barrel.


Step 1: Dice your apples and stir in sugar and cinnamon, cook down until tender

Step 2: Spread your melted chocolate onto a no-stick mat

Step 3: On the white chocolate brush on your color - mix a small amount of vodka with a touch of color then brush on to your not quite set chocolate

Step 4: Cut out your leaf shapes with cookie cutters

Step 5: Make your salted-caramel buttercream with butter, milk, salted caramel (homemade is best, store-bought is fine), and powdered sugar

Step 6: Layer your cake (you did remember to make your basic vanilla cake, right?).  Cake, buttercream, apples, repeat

Step 7: Frost the outside of the cake and surround with chocolate covered pretzel rods (you remembered to make those too, yes? - or kit kats also make a nice border), finish with a pretty ribbon

Step 8: Top with some marzipan apples and your chocolate leaves


Happy Birthday Christine!!!

Boeuf Bourguignon

Meat may not be your thing (it certainly isn't mine), but this dish from the cooking archives of Julia Child is something that even the pickiest of eaters can love.

Boeuf Bourguignon (aka: beef stew in red wine with bacon, onions, and mushrooms) with a few Moose Treats twists


Step 1: Assemble your ingredients

3 oz bacon, chopped
1 1/2 lbs lean stewing beef, cut into 2 inch cubes
1 carrot, sliced
1 small onion, sliced
10-15 pearl onions, peeled
1 TBS flour
Salt & Pepper
1 1/2 cups red wine - use what you like
1 cup beef stock - chicken or vegetable stock works well too
1/2 TBS tomato paste
1 clove garlic, mashed
1/2 lb mushrooms, quartered and sautéed in butter - I leave these out
1 package Egg noodles, cooked

Step 2: Preheat your oven to 450ºF

Step 3: In a dutch oven, caramelize your pearl onions in olive oil until golden brown and tender. Set aside for later.

Step 4: Render your bacon - once rendered set bacon aside for later

Step 5: Pat your beef dry and put a few pieces at a time in the bacon fat to get a golden crust. You are not looking to cook the beef through, so this won't take too long.

Step 6: Set your caramelized beef aside (I like to use the lid of the dutch oven for this to minimize clean up)

Step 7: Caramelize the onions and carrots in the remaining fat - you can add some olive oil if necessary.


Step 8: Add back your beef, bacon, salt & pepper, and flour.  Toss to coat.  Put in the oven for 4 min, stir, and return to the oven for another 4 min.  At this point turn your oven down to 325ºF.

Step 9: Add in the garlic, tomato paste, wine, and stock.  Bring to a simmer, stir, and cover.

Step 10: Cook covered in the oven for 3 hours or until the meat is fork tender.  Check on the meat occasionally through cooking and add a little more wine if it begins to look dry.  A few minutes before the meat is done, stir in the pearl onions and mushrooms so that they are heated through.

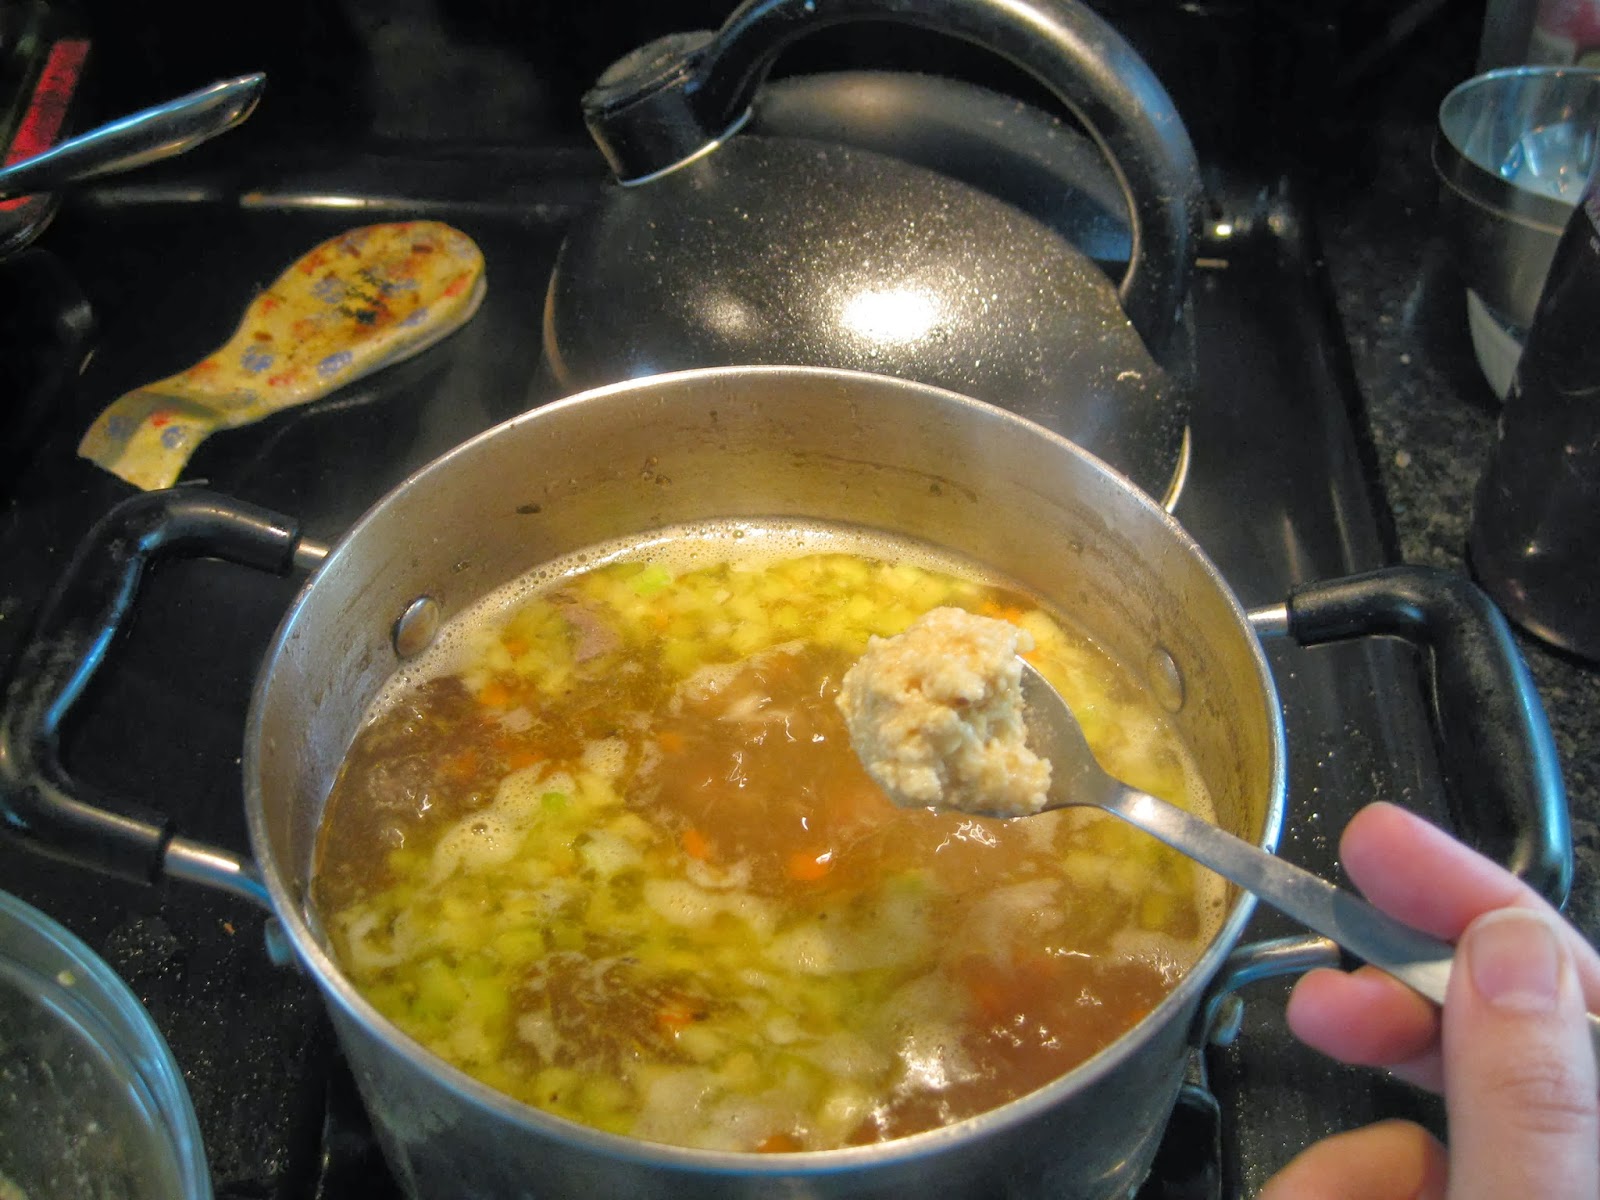
Step 11: Serve over a bed of lightly buttered egg noodles

You certainly don't need to serve this with a fancy bottle of champagne, but it does add a nice touch for an anniversary dinner.


Note: You can change some of the ingredients and volumes of said ingredients to accommodate your diners - personally I leave out the mushrooms and up the amount of carrots with no problems.


Original recipe from Julia Child's Mastering the Art of French Cooking

Sunday, September 29, 2013

Homemade BBQ Sauce

BBQ Sauce...better late than never!


Everyone has their own personal favorite BBQ sauce, so after spoiling my family I figured that I would share what is gobbled down around my house.


Step 1: Dice up some onion and sauté with salt, pepper, garlic powder, paprika, chili powder, and cayenne pepper until nicely caramelized.  This is also a good time to add in some jalapeño or other hot pepper

Step 2: Add in your ketchup, molasses, and worchestershire sauce

Step 4: Add dijon mustard and a splash of apple cider vinegar

Step 5: Buzz your mixture until it is smooth, this will also help it to thicken up.  Adjust ingredient volumes to taste (unlike baking, you can mess with proportions all you like to get just the precise flavoring you deem perfect)


Slather on some ribs and enjoy the finger lickin' goodness!

Mini Apple Pies

With the progression of fall and the copious amounts of fresh apples found at this time of the year, for our latest gathering I made individual serving size apple pies.

This recipe will make 15 mini pies with enough dough left over to add some cute toppings.


Step 1: Assemble your apples.  You will need to peel, core, and dice them. You can use whatever apples you like, I used Macintosh and Empire as that's what we picked


Step 2: Mix in some granulated sugar, small amount of flour, and cinnamon and toss to coat
(You did remember to start preheating your oven to 350ºF, right?)

Step 3: Take a handful size ball of pie crust that you made ahead of time (use your favorite crust or check out this recipe: http://moosetreats.blogspot.com/2013/09/pie-crust.html), and place it between two sheets of waxed paper


Step 4: Roll out to be about 6" in diameter and 1/8" thick

Step 5: Put your bottom crust into each of your muffin tin openings

Step 6: Fill with apples.  Be sure to add way more apples than you think is necessary as they do cook down substantially

Step 7: Roll out another piece of dough to about 4" in diameter and place on top of your apples.  Crimp to seal the edges, poke a few vent holes in the top, brush on an egg wash or some milk (this helps with browning). If you are going to make any cute decorations for your pies out of the extra crust this would the the time to add them.  Bake for 1 hour.


Let your mini pies cool, remove them from the muffin tin, and serve.  These are great for a BBQ or other holiday party as forks are not necessary to eat these tasty morsels.

Pie Crust

The following crust recipe is by far the best one I've tried.  It does not leave that aftertaste that an oil crust or butter/shortening crust will leave.


Step 1: Combine 4 cups flour with 2 sticks of butter cut into pieces


Step 2: Using a pastry cutter (or a pair of knives, or even your fingers) cut the butter into the flour.  You can use a food processor for this, however, it can cause the crust to get tough 


Step 3: Add small amounts of cold water just until the dough will hold together when you squeeze it


Step 4: Put in a zip top bag and refrigerate for at least 30 min.  


This makes enough for 2 pies each with a top and bottom crust (or 15-18 mini pies)

**Moose Tip: for easy entertaining make the crust a day ahead**

Saturday, September 14, 2013

Stuffed Shells

Since today was a quiet Saturday with nothing particular on the schedule I decided to get a jump on tomorrow's cooking.

With the bacon jam simmering away, pie crust chilling for post apple picking baking, I decided to make stuffed shells a la Grandma Rose, with a MooseTreats twist.


Step 1: Preheat your oven to 375ºF, and gather your ingredients.  
24 jumbo shells
15oz part skim ricotta cheese
1 cup shredded mozzarella cheese
1/2 cup parmesan cheese
1 egg
fresh basil chopped
1 clove of garlic minced
5oz frozen spinach - thawed, drained, and chopped
salt & pepper
tomato sauce


Step 2: Pre-cook your shells until they are al dente (slightly resistance when you bite into the pasta), drain and rinse under cold water to stop the cooking process


Step 3: While the shells are cooking combine your basil, garlic, spinach, egg, cheeses, salt & pepper in a bowl

Step 4: Mix until thoroughly combined

Step 5: Stuff your cooled and drained shells with a generous spoonful of filling. You will have enough to fill 20 shells (make a few extra in case you have any munchy mouths wandering through the kitchen, or if you rip any along the way)

Beware of little helpers in the kitchen!
Dr.No is being his usual helpful self, Milo was off napping, 
and introducing Sissy (puppy-naped for the afternoon from my mother-in-law)

Step 6: In the bottom of an oven proof dish put a layer of tomato sauce. You can use homemade or your favorite store-bought sauce - I used some leftover merlot infused tomato sauce from the other day.  Place your shells on the sauce in a single layer (neatness doesn't count).

Step 7: If serving today bake covered for 25 minutes, remove the cover and bake for another 10-15 minutes or until golden and bubbly.  If you are transporting them, cover and stick in the refrigerator, then when you reach your cooking destination follow the above cook times.


While these stray from the traditional stuffed shells of my grandma, they are a tasty and sneaky way to get your kids (and picky husbands) to eat their veggies (did I mention tomato sauce is another good place to sneak those veggies in).

Happy cooking!